
Natural light is one of the most powerful tools in a photographer's arsenal. While artificial lighting equipment can be invaluable in certain situations, learning to work with natural light will significantly improve your photography, regardless of your specialty. This guide will help you understand, predict, and harness natural light to create stunning images in any environment.
Understanding Natural Light Qualities
Before we dive into specific techniques, let's understand the fundamental qualities of natural light:
Intensity
Light intensity refers to how bright or dim the light is. Bright sunlight creates high contrast and sharp shadows, while overcast conditions provide softer, more diffused light with gentle transitions between highlights and shadows.
Direction
The direction of light dramatically affects the mood and dimension of your photographs:
- Front lighting: When light comes from behind the photographer, it evenly illuminates the subject but can flatten features.
- Side lighting: Creates dimension and texture by highlighting one side while casting shadows on the other.
- Back lighting: Places the subject between the camera and light source, creating dramatic silhouettes or rim lighting.
Color Temperature
Natural light changes color throughout the day:
- Early morning and late afternoon light (golden hour) has a warm, golden hue
- Midday sunlight appears cooler and more neutral
- Overcast skies create a slightly blue cast
- Sunset produces dramatic warm oranges and reds
- Blue hour (after sunset/before sunrise) casts a cool blue light
Portrait taken during golden hour with warm, directional light
The Best Times to Shoot in Natural Light
Golden Hour
The hour after sunrise and before sunset provides the most flattering natural light for almost any subject. During this time, the sun is low in the sky, creating:
- Warm, golden tones that enhance skin tones
- Soft, directional light that adds dimension without harsh shadows
- A magical quality that elevates ordinary scenes
For portraits, landscapes, and architectural photography, golden hour is often considered the optimal time to shoot.
Blue Hour
The brief period just before sunrise or after sunset when the sky takes on a deep blue color. This is ideal for:
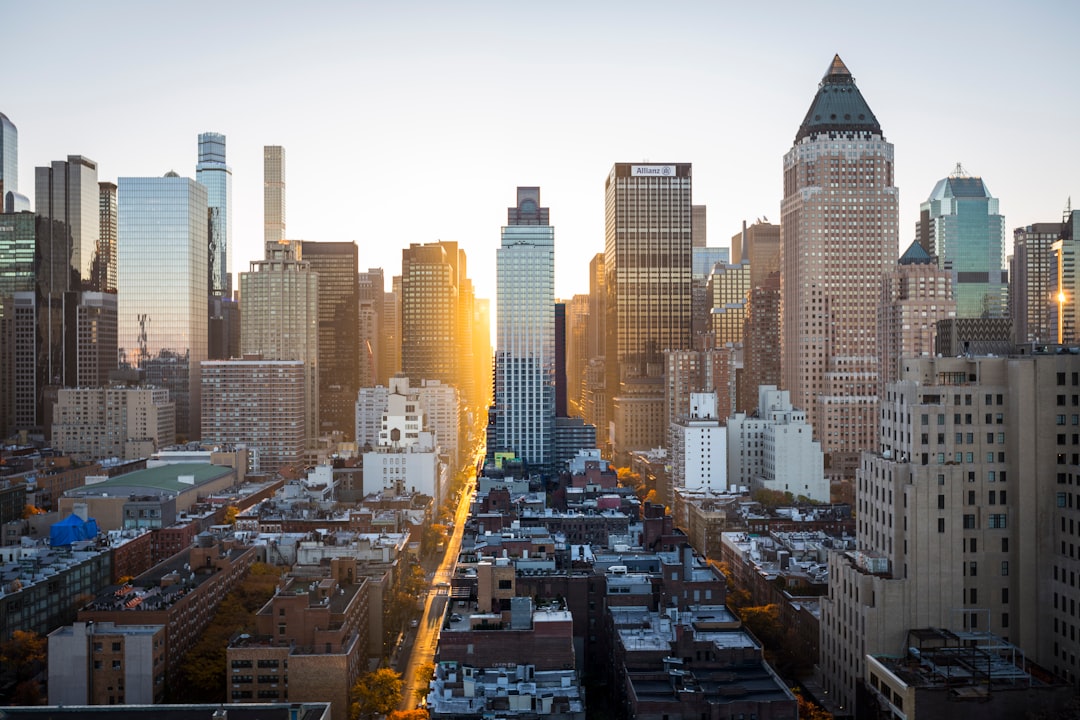
- Cityscape photography when buildings are illuminated
- Creating moody, atmospheric landscapes
- Capturing the transition between day and night
Overcast Days
While many photographers lament cloudy days, they actually provide excellent conditions for:
- Portrait photography (even, soft light without harsh shadows)
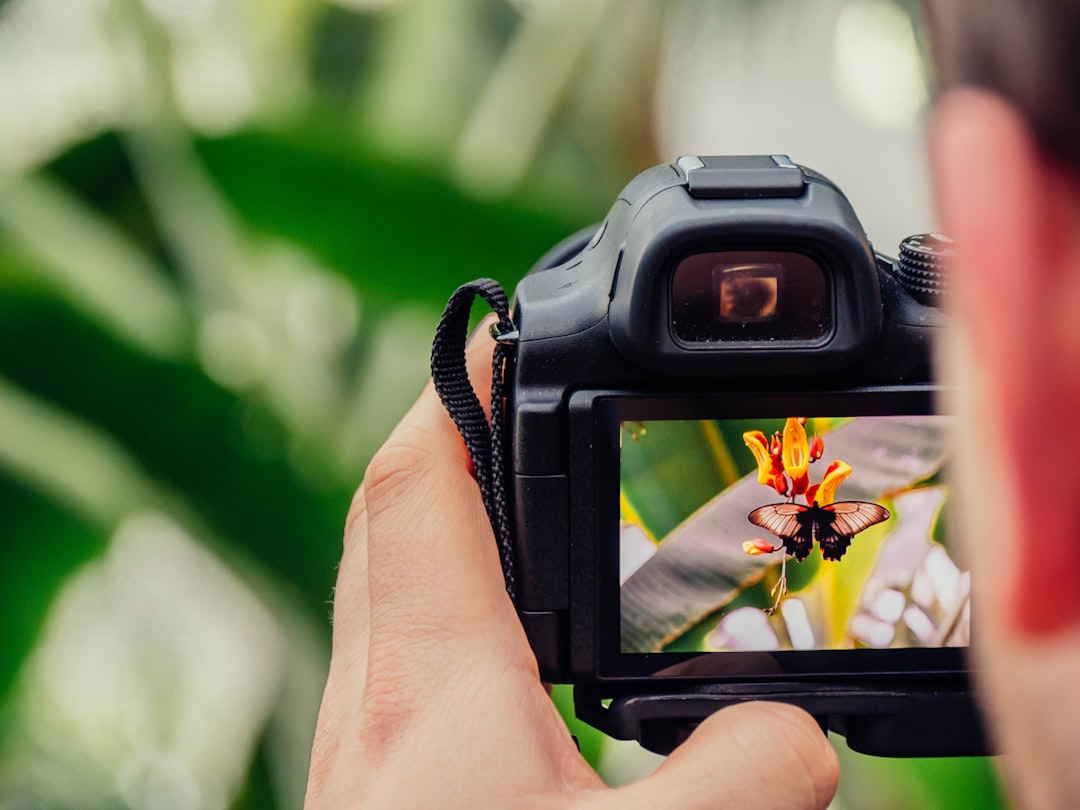
- Macro and detail photography (reduced contrast helps capture details)
- Woodland and forest scenes (even illumination without dappled light)
- Color-rich subjects (colors appear more saturated without direct sunlight)
Soft, even light on an overcast day creates flattering portraits
Working with Different Natural Light Scenarios
Harsh Midday Sun
When you can't avoid shooting during midday hours:
- Look for open shade (under trees, buildings, or overhangs)
- Use a reflector to bounce light and fill in harsh shadows
- Position subjects with their back to the sun for rim lighting
- Consider converting to black and white to embrace the high contrast
- Use the harsh light creatively for dramatic shadows or patterns
Window Light
Window light is a photographer's best friend for indoor natural light photography:
- North-facing windows (in the Northern Hemisphere) provide consistent, soft light throughout the day
- Position your subject at 45-90 degrees to the window for dimensional lighting
- Use white foam board or reflectors on the shadow side to fill in shadows
- Adjust distance from the window to control light intensity
Backlighting
Shooting into the light creates dramatic effects but presents challenges:
- Use spot metering and expose for the subject to avoid silhouettes (unless desired)
- Use a reflector or fill flash to balance exposure
- Shield your lens from direct sun to prevent flare (or use flare creatively)
- Look for "rim lighting" opportunities where light outlines your subject
Backlighting creates a beautiful glow around the subject
Essential Tools for Natural Light Photography
Reflectors
A 5-in-1 reflector is perhaps the most valuable natural light accessory:
- White surface bounces soft light to fill shadows
- Silver surface provides stronger fill light
- Gold adds warm light for enhancing skin tones
- Black side absorbs light to deepen shadows for dramatic effects
- Translucent diffuser softens harsh direct sunlight
Diffusers
When shooting in harsh sunlight, a diffuser held between the sun and your subject can transform hard light into soft, flattering light.
Camera Settings for Natural Light
Understanding exposure becomes even more critical in natural light:
- In rapidly changing light, consider using Aperture Priority mode
- Watch your histogram to ensure proper exposure
- Expose for the highlights in high-contrast scenes
- Consider bracketing in challenging lighting conditions
- Use a lens hood to reduce flare when shooting toward the light
Practical Tips for Different Genres
Portrait Photography
- Position subjects so the light enhances their features
- Use side lighting to create dimension
- Seek open shade for even, flattering light
- Watch for catchlights in the eyes
- Use reflectors to fill shadows under the eyes and chin
Landscape Photography
- Plan shoots around sunrise and sunset for dramatic light
- Use side lighting to emphasize texture and dimension
- Look for dramatic weather conditions and light breaks
- Use graduated ND filters to balance bright skies with darker foregrounds
- Be patient and wait for the perfect light
Street and Documentary Photography
- Look for pockets of interesting light in urban environments
- Seek out light tunnels, reflections, and shadows
- Use shadows and light patterns as compositional elements
- Watch how light interacts with architecture and people
Conclusion
Mastering natural light takes practice and observation. The more you shoot in different lighting conditions, the better you'll become at predicting and working with natural light.
Remember that "good light" is subjective and depends on your creative vision. Sometimes harsh midday sun or moody, low-contrast light might be perfect for the story you're trying to tell.
Start by observing how light changes throughout the day in familiar locations. Notice how it affects colors, textures, and mood. This awareness will help you develop an intuitive understanding of light that will transform your photography.

Comments