Post-processing is an essential part of the modern photography workflow. Even the most perfectly composed and exposed image can benefit from thoughtful editing to enhance its impact and communicate your vision more effectively. In this guide, we'll explore fundamental post-processing techniques that can dramatically improve your photos while maintaining a natural look.
The Mindset: Enhancement vs. Manipulation
Before diving into specific techniques, it's important to establish a philosophical approach to editing. While there's no right or wrong way to edit your photos, we recommend thinking of post-processing as enhancement rather than manipulation—bringing out the best qualities that already exist in your image rather than completely changing its nature.
This approach helps maintain authenticity while still allowing you to express your creative vision. Of course, there are genres like fine art photography where heavy manipulation is expected and appropriate. Understand your purpose and audience, and edit accordingly.
Essential Software
While there are many excellent editing programs available, here are some of the most popular options:
Adobe Lightroom
Perfect for organizing your photo library and making non-destructive adjustments to your images. Ideal for most photographers, especially for batch editing and managing large collections.
Adobe Photoshop
The industry standard for detailed, pixel-level editing, compositing, and advanced retouching. More complex but offers virtually unlimited creative possibilities.
Capture One
Known for superior color handling and tethered shooting capabilities. Popular among professional portrait and commercial photographers.
Free Alternatives
GIMP (similar to Photoshop), Darktable or RawTherapee (similar to Lightroom), and Snapseed (for mobile editing) offer powerful features without the cost.

Adobe Lightroom interface showing basic adjustment panels
A Basic Editing Workflow
While every photographer eventually develops their own workflow, here's a logical sequence that works well for most images:
1. Crop and Straighten
Start by refining your composition:
- Straighten horizons and vertical lines
- Crop to improve composition or remove distracting elements
- Consider aspect ratio (original, 16:9, square, etc.) based on your intended use
2. Global Adjustments
Make broad adjustments that affect the entire image:
Exposure and Contrast
- Exposure: Brighten or darken the overall image
- Contrast: Increase or decrease the difference between highlights and shadows
- Highlights and Shadows: Recover detail in bright skies or dark areas
- Whites and Blacks: Set the white and black points to ensure a full tonal range
White Balance
- Temperature: Adjust the color balance between blue (cool) and yellow (warm)
- Tint: Fine-tune the balance between green and magenta
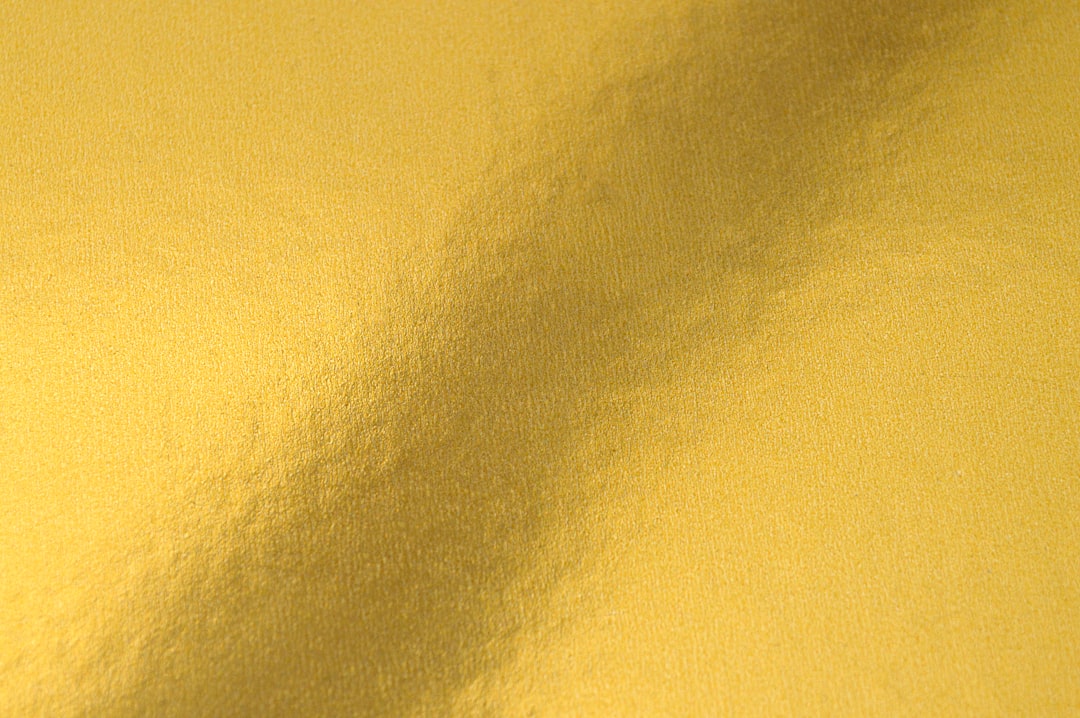
Before and after white balance adjustment - correcting a blue color cast
3. Local Adjustments
Apply selective edits to specific areas of your image:
- Graduated Filters: Great for balancing bright skies with darker foregrounds
- Radial Filters: Ideal for drawing attention to your subject by darkening or brightening specific areas
- Adjustment Brushes: Perfect for precise edits like brightening eyes, whitening teeth, or enhancing specific details
4. Color Adjustments
Refine the color palette of your image:
- Vibrance: Increases the intensity of muted colors while protecting skin tones (generally preferable to Saturation)
- Saturation: Increases the intensity of all colors (use sparingly to avoid an unnatural look)
- HSL (Hue, Saturation, Luminance): Adjust specific color ranges independently
- Color Grading/Split Toning: Add subtle color tints to highlights, midtones, and shadows
5. Detail Enhancement
Refine the fine details in your image:
- Sharpening: Enhance edge definition (be careful not to oversharpen, which creates halos and artifacts)
- Noise Reduction: Reduce digital noise in high-ISO images (balance between noise reduction and detail preservation)
- Texture and Clarity: Enhance or reduce textural detail and local contrast
6. Lens Corrections
Fix optical issues introduced by your lens:
- Distortion: Correct barrel or pincushion distortion
- Chromatic Aberration: Remove color fringing along high-contrast edges
- Vignetting: Remove or add darkening at the corners
7. Final Touches
Add the finishing creative elements:
- Vignette: Add a subtle darkening around the edges to direct attention to your subject
- Grain: Add a touch of film-like grain for aesthetic effect
- Creative Profiles or Presets: Apply a consistent look or style
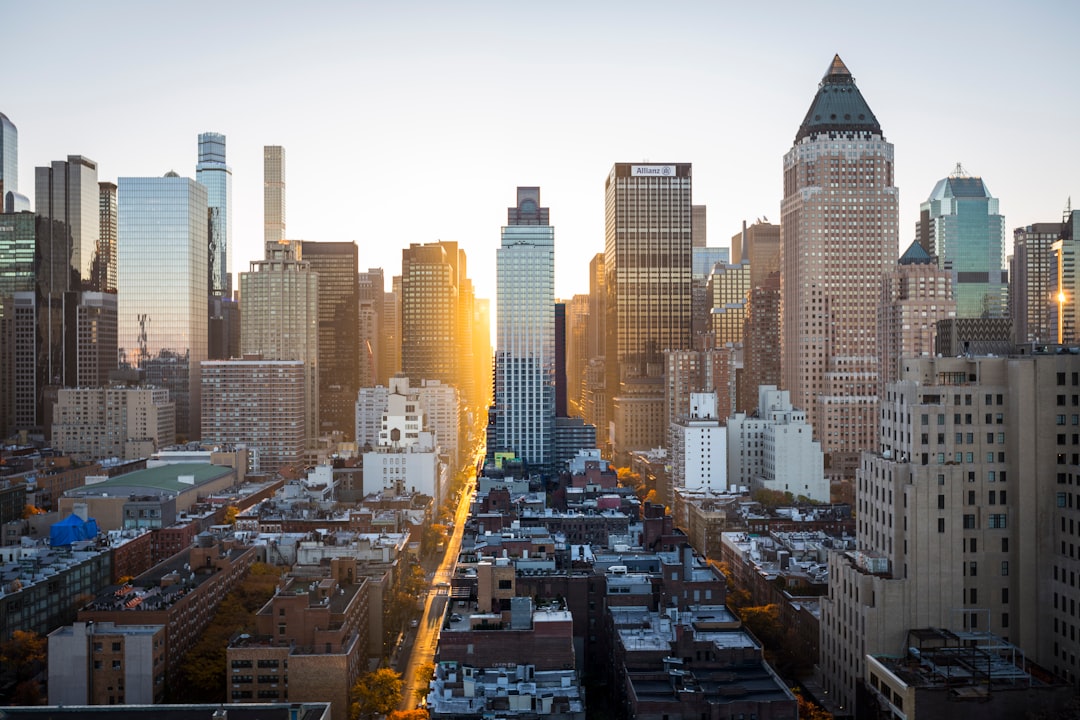
Before and after applying the complete editing workflow to a landscape image
Advanced Techniques
Once you're comfortable with the basics, consider exploring these more advanced techniques:
Dodge and Burn
Selectively lighten (dodge) or darken (burn) specific areas to create dimension and draw attention to important elements. This technique, borrowed from darkroom printing, is particularly effective for portraits and landscapes.
Frequency Separation
A technique that separates texture from color/tone, allowing you to edit them independently. Particularly useful for portrait retouching, allowing you to smooth skin while preserving natural texture.
Color Grading
Creating a specific color mood or look by adjusting the color balance in shadows, midtones, and highlights independently. This can establish a cinematic aesthetic or consistent brand look.
Luminosity Masking
Creating precise selections based on brightness values in your image, allowing for highly targeted adjustments that blend naturally.
Common Editing Mistakes to Avoid
Oversaturation
Pumping up saturation too high creates an unnatural, often "neon" look that's immediately recognizable as over-processed. Use Vibrance instead of Saturation when possible, and be judicious with color adjustments.
Excessive Clarity/Contrast
Too much clarity or contrast can create harsh, gritty images with unnatural halos around edges. This is particularly problematic for portraits, where it can emphasize skin texture unfavorably.
Heavy HDR Effects
While HDR (High Dynamic Range) techniques can be useful for balancing exposure in challenging conditions, excessive HDR processing creates an artificial, surreal look that has fallen out of favor in contemporary photography.
Extreme Skin Smoothing
Removing all skin texture creates the notorious "plastic skin" effect. Aim to reduce blemishes while preserving natural skin texture and pores.
Ignoring White Balance
Incorrect white balance can cast an unpleasant color tint across your entire image. Learning to recognize and correct color casts is an essential skill.
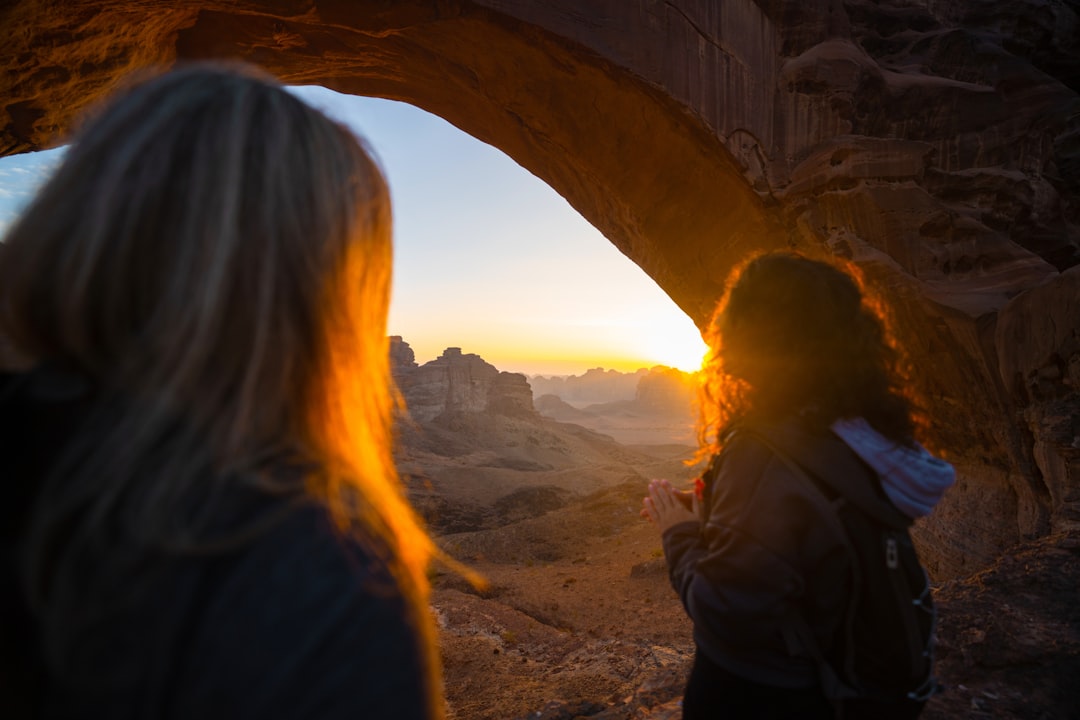
Common editing mistakes illustrated: natural edit (left) vs. over-processed edit (right)
Developing Your Editing Style
As you become more comfortable with editing techniques, you'll naturally begin to develop your own signature style. Here are some tips for that journey:
Study Photographers You Admire
Analyze what you love about their work. Is it their use of color, contrast, composition? Try to identify the specific qualities that attract you to their images.
Create and Refine Presets
When you find adjustments that work well for your images, save them as presets. Over time, refine these to create a consistent look that defines your work.
Seek Feedback
Share your work with other photographers and be open to constructive criticism. Sometimes an outside perspective can identify both strengths and areas for improvement that you might miss.
Remember Your Purpose
Always edit with intention. Ask yourself what story you're trying to tell or what emotion you want to evoke, and let that guide your editing decisions.
Conclusion
Post-processing is a powerful tool that allows you to refine your vision and overcome the technical limitations of your camera. The most effective editing often goes unnoticed—it simply makes an image look its best without calling attention to the fact that it was edited.
As with all aspects of photography, mastering post-processing takes practice. Don't be afraid to experiment, but also learn to recognize when less is more. The goal is not to transform your images into something they're not, but to reveal their full potential.
Remember that editing is part of the creative process, not a fix for poor photography. The best results come from starting with the strongest possible image in-camera and then using post-processing to enhance what's already there.


Comments